Use the Transaction Details page to build and manage content.
Show picture

You can add, remove and modify Services and Features on an account. Modifying refers to taking actions on an account item such as disconnect a service or reconnect a feature.
From the Details page you can also:
View and edit line item details
Bookmark the transaction
Discard the transaction
Accessing Details
The Details page is displayed in the course of creating a new transaction. You can also access the Details page from the corresponding Summary, or the Search results:
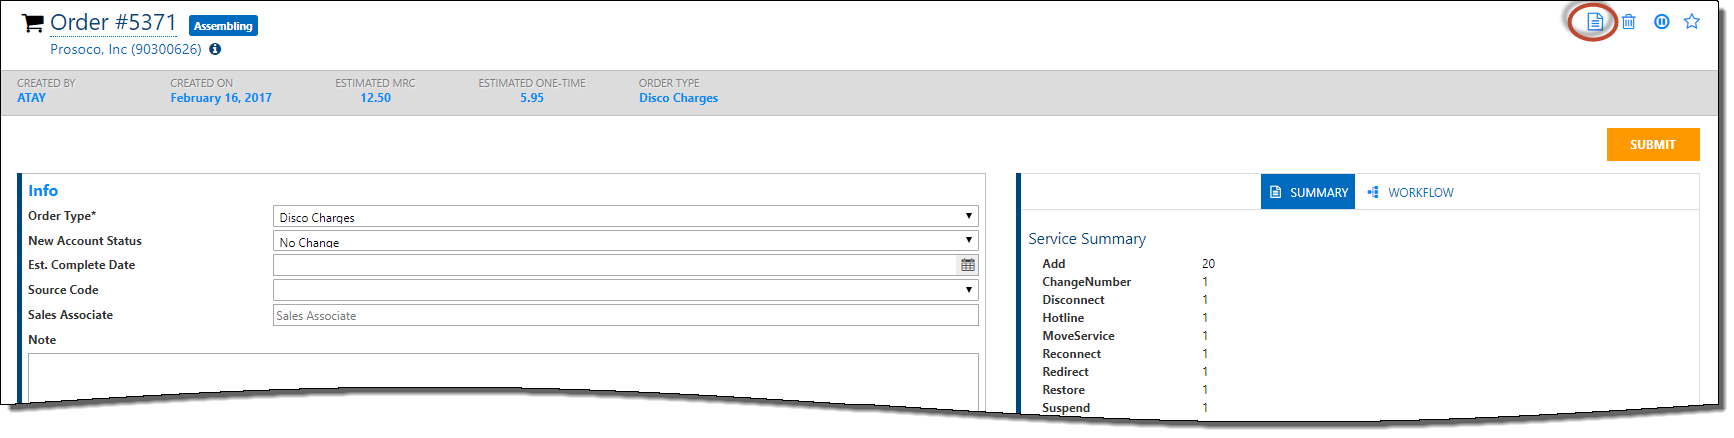
From the Order Summary, click the Order Details icon in the upper left corner.
Show Picture
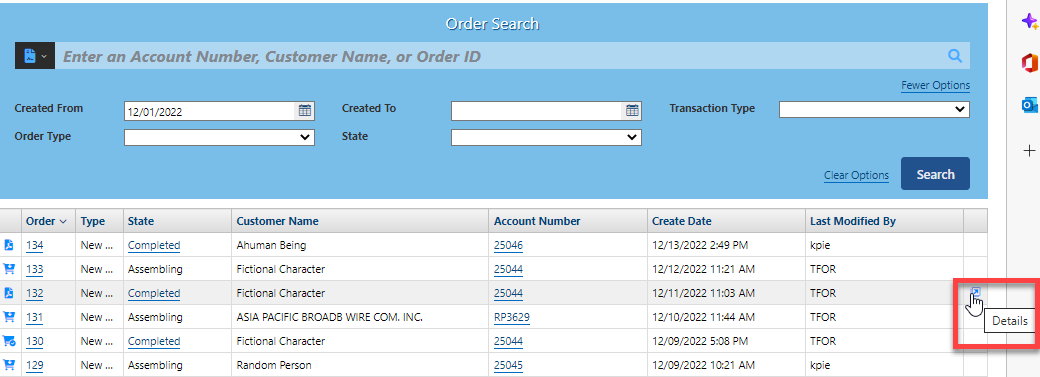
From the Search Results, hover over the far right column, and then click the Details icon.
Show Picture


Details Layout
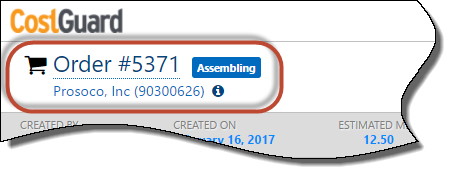
Transaction Status - The upper left corner displays the ID, Customer Name, Account Number and Status.
Show Picture
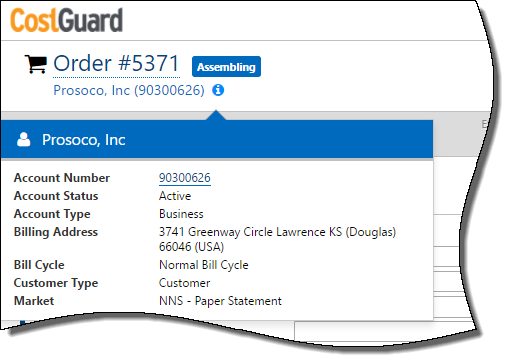
Clicking the Information icon in this section (
 ) displays Account information.
 Show Picture
Transaction Information Banner - The grey banner indicates who created the transaction and when, estimated MRC (Monthly Recurring) and one-time charges and Transaction Type.
Transaction Items Grid - Below the banner, the Details section lists the Items with the following information for each item:
SKU
Quantity
Charge
Start & End Dates
Transaction Items and their respective actions (Add, Disconnect, Reconnect, Restore, etc...) are represented by color-coded symbols. Hovering over an item displays text to indicate what the item is and the action to be taken.

 ) displays Account information.
More
| Service |
| Service number is eligible for service number inventory |
| Port-In number |
| Service has a subservice. |
| Contract |
| Package |
| Feature |
| Pricing plan |
| Discount |
| Dynamic Charge |
| Indicates an auto assign feature |


Color Key
Green | Add, Reconnect |
Red | Disconnect |
Bright Yellow | Redirect, Suspend, Hotline |
Violet | Change Number |
Blue | Modify |
Mustard Yellow | Move |
Filtering the Transaction Items Grid
You can use the > symbol to show/hide the Account-level Features list and Service-level Features under a Service. You can also show/hide the component items within a package.
The default view shows all Services in the transaction. You can also use the Filter icon ( ) to narrow the scope of Services displayed in the grid. Clicking the Filter icon displays a dialog for selecting the Services to display by Action (Add, Disconnect, etc...) Type, Group, or any combination of these criteria. The dialog indicates the number of Services in the Order for each Action, Type and Group.
Show Picture
Example - Filtering By Service Type

Example - Filter by Action

Example - Filter by Type and Action

The grid is updated dynamically as you make selections. The filter is only applicable for the current viewing instance. The filter selections are removed when you exit the Order Details pane.
Sliding Panes
The basic Transaction Details view is a list of items with related information displayed in columns.
Show picture

As you drill down on a selected item, or work through an add/modify process, the grid slides to the left to display a new pane to the right as appropriate for the selected action.
Show Picture


Note
The Filter icon also slides and follows the Transaction Items grid.
Canceling out of the rightmost pane walks you back and eventually restores the full Transaction Items grid.
Viewing/Editing Transaction Item Details
Additional item-specific details are available by selecting the item. This displays a new pane on the right side of the Details page where you can use the View link to toggle between Details or other information as applicable for the item.
Show Picture

An EDIT button (Pencil icon) is available for editing the selected line item.
To remove the item click the Remove (trash can) icon.
Click X to close the Details pane on the right and restore the original Details view.
See also:
Adding/Modifying Services and Features and Other Actions
The icons just above the Transaction Items list let you add or modify Transaction Line Items.
Show Picture

| Add Service |
| Add Feature |
| Modify Service |
| Modify Feature |
| Bulk Select Services |
| Add Deposit - Requires Deposit Permission & Deposit action when using Starting Blocks |
| Bulk Update Provisioning Properties |


The following links will take you to detailed instructions for:
Adding a Deposit (Availability dependent upon setup)
Bookmarking a Transaction
You can add the transaction to the list of Bookmarked Transactions to facilitate navigating back to the transaction as needed.
Show Picture

To do this, click the Bookmark icon in the upper right corner.
Show Picture

Note
If the icon is solid blue, it indicates the order is already bookmarked. Clicking the solid blue star un-bookmarks the transaction.
Bulk Updating Provisioning Properties
For service providers using the new Provisioning web application, when the order includes provisionable objects, bulk update capability lets you update provisioning properties on an order efficiently and accurately, reducing service delivery time frames and improving revenue recognition. This functionality can help on smaller transaction with numerous provisioning properties or large enterprise orders with hundreds of services. Bulk update capability can save considerable time and help reduce order entry mistakes.
For details see Bulk Updating Provisioning Properties.
Finishing Assembly - Review and Submit
When you’re ready to submit the transaction, click the Review Transaction button in the upper right corner.
Show Picture

This takes you to the Transaction Summary page where you can review and then submit the transaction.
Discarding an Order
Clicking the Discard icon ( ) displays a confirmation message to let you discard the Order (Yes) or cancel the Discard action (No).