To add a new user or edit an existing user:
Right-click on the Users window and select New to add a new user, or Edit to modify an existing user. This displays the User information window.
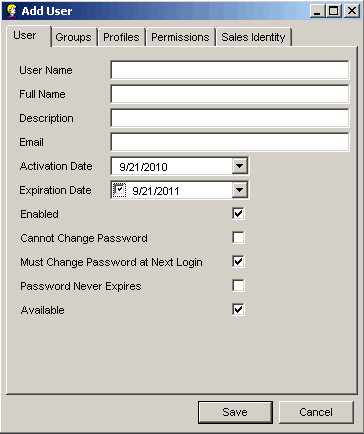
On the User tab specify the following user properties:
User Name
Enter the user's login name.
Full Name
Enter the full name of the user.
Description
Enter a description of who the user is.
Email
Enter the user's email address.
Activation Date
Enter the activation date for the user account.
Expiration Date
Enter an expiration date for the user account if you want to change the default of one year to another future date. Clear the checkbox to set it to never expire (null).
Enabled
Checked: Enables user permissions.
Unchecked: User permissions are disabled.
Cannot Change Password
Checked: User cannot modify their password.
Unchecked: User can modify their password.
Must Change Password at Next Login
Checked: User is forced to reset their password the next time they log in.
Unchecked: User does not need to change password at next login.
Password Never Expires
Checked: User's password will never expire.
Unchecked: User's password expires based on the number of days set in password rules.
Available
Checked: Indicates that this user is part of a group that can be assigned to follow-ups and trouble tickets based on current assignments.
Note
This only applies if the user is logged in.
Unchecked: User's current assignments are not considered.
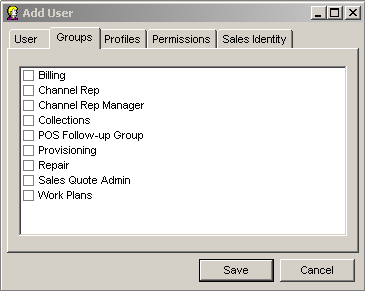
Click the Groups tab to assign the user to one or more Groups (billing, collections, etc.). Groups organize users for such purposes as assigning follow-ups and trouble tickets.
Click the Profiles tab to assign Data, Toolbar, User Limit-To's and Permissions Profiles.
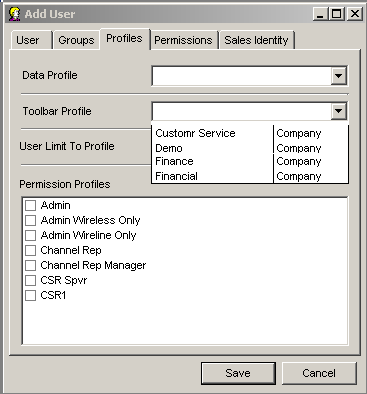
Data Profiles
Select the data profile from the drop-down list (if applicable for your system). Data Profiles are created and maintained by IDI Billing Solutions.
Toolbar Profiles
This determines the client toolbar commands available for this user. A default toolbar profile is provided. You may select another profile if customer profiles have been defined. See Managing Client Toolbars and Toolbar Profiles.
Permissions Profiles
Select one or more permission profiles as needed. The corresponding permissions are shown on the Permissions tab.
User Limit-To Profile
Select a limit-to from the drop down (optional). Selecting None provides unlimited access to markets, account types and/or sales channels. See User Limit -To Profiles.
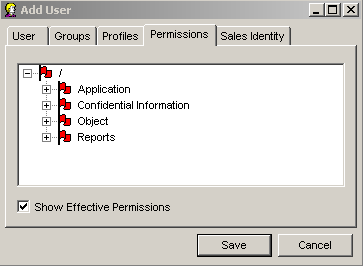
Click the Permissions tab to see the assigned permissions. The permissions are not displayed until you select the Show Effective Permissions checkbox. (Selected permissions will display after saving.)
Click the Sales Identity tab to select a Sales Identity to limit which customers the user can access.
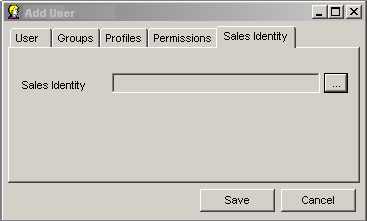
Click the … button to display the Limit-To Sales Channel window.
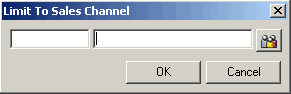
Enter a Sales Code or click the sales group button to select the Sales Entity to limit which customers that the user has access to.
_DiagnosticLogin
The special _DiagnosticLogin user is used by IDI Billing Solutions personnel to diagnose the system if necessary.
_root user
The special _root user cannot be modified except for the password. The _root user's sole purpose is to be able to add new users and profiles to the system when no other user exists with such rights. Typically the first user account set up is Admin and then the Admin account is used to administer the system. Once the Admin account is set up, the _root user's password is modified for security.
Adding and Editing a Password
Right-click on a User and select Set Password to set a password on this user's account.
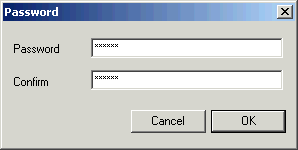
Passwords are optional (but strongly recommended). To set a password, enter the password in the Password and Confirm fields and click OK. To not set a password, simply leave these fields blank and click OK.
Disabling and Enabling a User Account
To disable a user account, right-click the name of the user and select Disable. The following window is displayed:
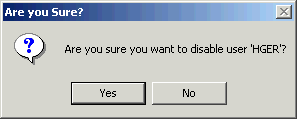
Click Yes to disable to user's account or click No to cancel the change.
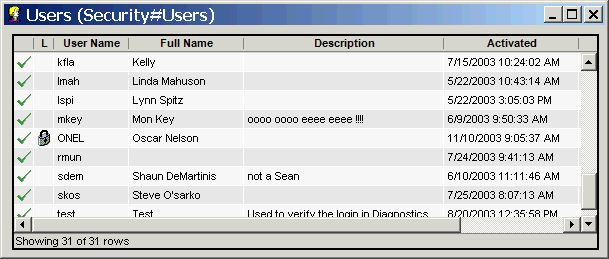
To enable a user account, right-click on the user account and select Enable. A green check mark indicates an active account.
Unlocking a User Account
A lock icon indicates that a user has exceeded the number of allowable login attempts as established in Login Settings. This locks the user out of the system until the user account is enabled.
To unlock a user (if you have administrative rights), right-click the user and select Unlock from the shortcut menu.
Note
If you attempt to log in with an incorrect password after reaching the number of attempts as set in Login Settings, the login will fail.