The goal of this Workflow is to create a process that will ensure that credit adjustments to an account go through the proper approval process. Adjustments that are small enough will be auto-approved and larger ones route to the proper users who have the authority to approve.
Prerequisites
Adjustments are entered as blocked. 17.2 SP1 added a configuration option to Care to set ‘blocked’ as default status when entering adjustments which should be set to ‘enabled’.
The Workflow progresses down this basic flow:
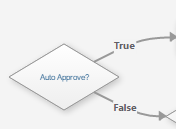
- Determine if adjustment meets criteria for auto approval (True = Auto unblock, False = find approval tier).
- Determine approval tier needed
- Notify user assigned for approval
- User evaluates adjustment and approves or declines by setting value on the approval task.
- Workflow either automatically unblocks (approved) or emails original user to inform them it was declined.

Workflow Breakdown
Process #1: Auto Approve Conditional
Assess if adjustment needs approval (e.g. by type or user entered)

Process #2: Determine Approval Levels Needed
Conditionals are created based on adjustment amount. If adjustment does not meet a tier criteria it moves to the next for evaluation.


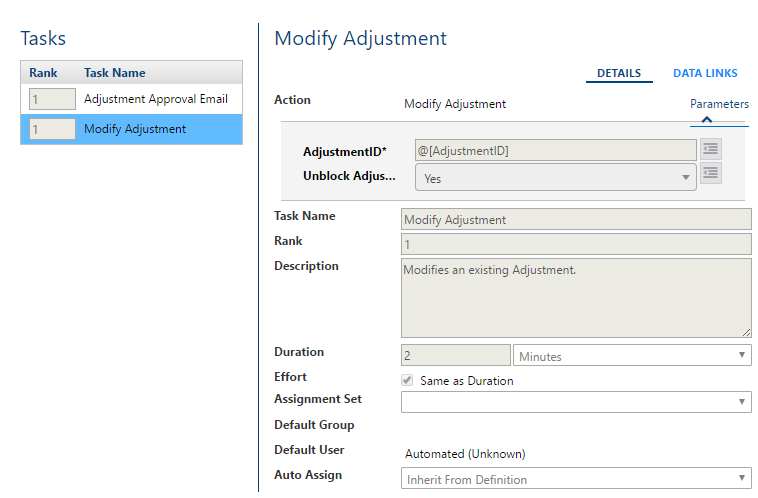
Process #3: Approval Steps
When the proper approval tier is found the approval process begins. Tasks have been created to:
Email – Notify user assigned approval task.
Approve / Reject – Users sets required extended data field to approve or reject the adjustment.


Process #4: Approve/Reject Conditional
Once the Workflow has gone through the approval process a conditional uses value of ‘Approved?’ extended data to evaluate whether to utilize the approved or declined path.


Process #5: Approval
Once the adjustment is approved it is automatically unblocked and the original user is notified. If it is declined then a rejection email is sent instead.